Making the Screen
The screen functions exactly like a connect four board. Pieces are dropped through the top of each column and become pixels on the screen. The pieces for this project are BB pellets instead of the Connect Four Discs.
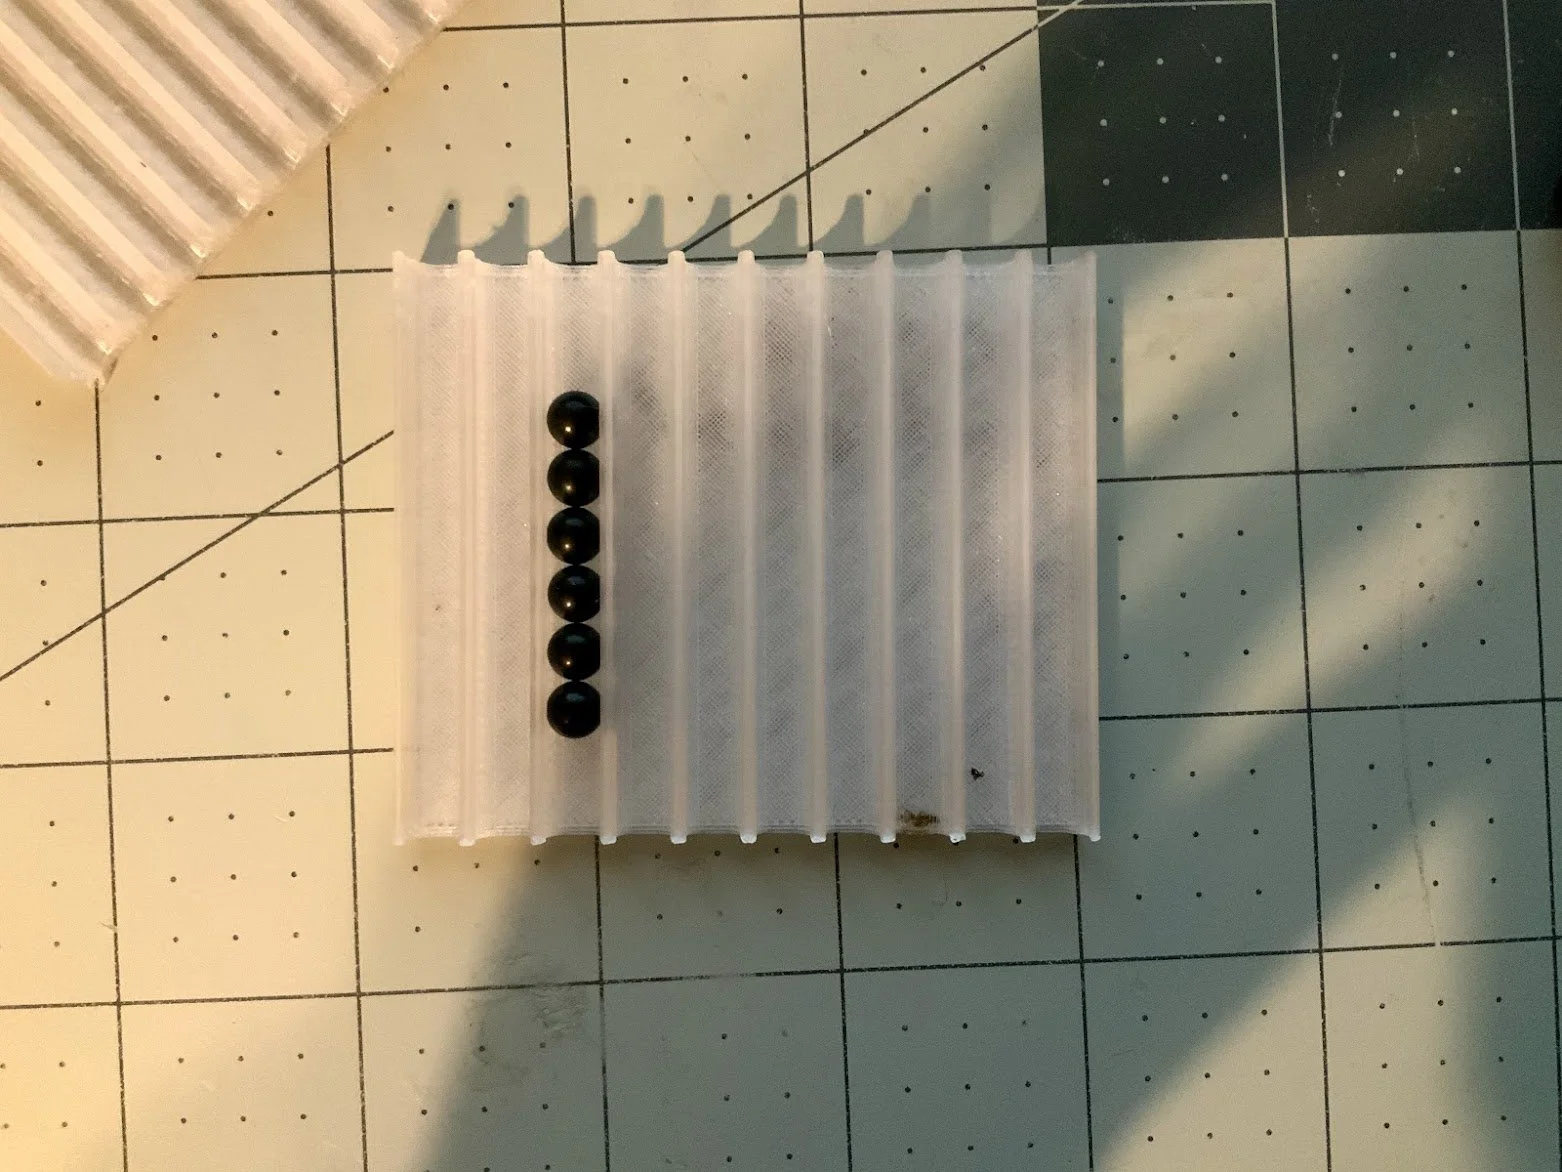
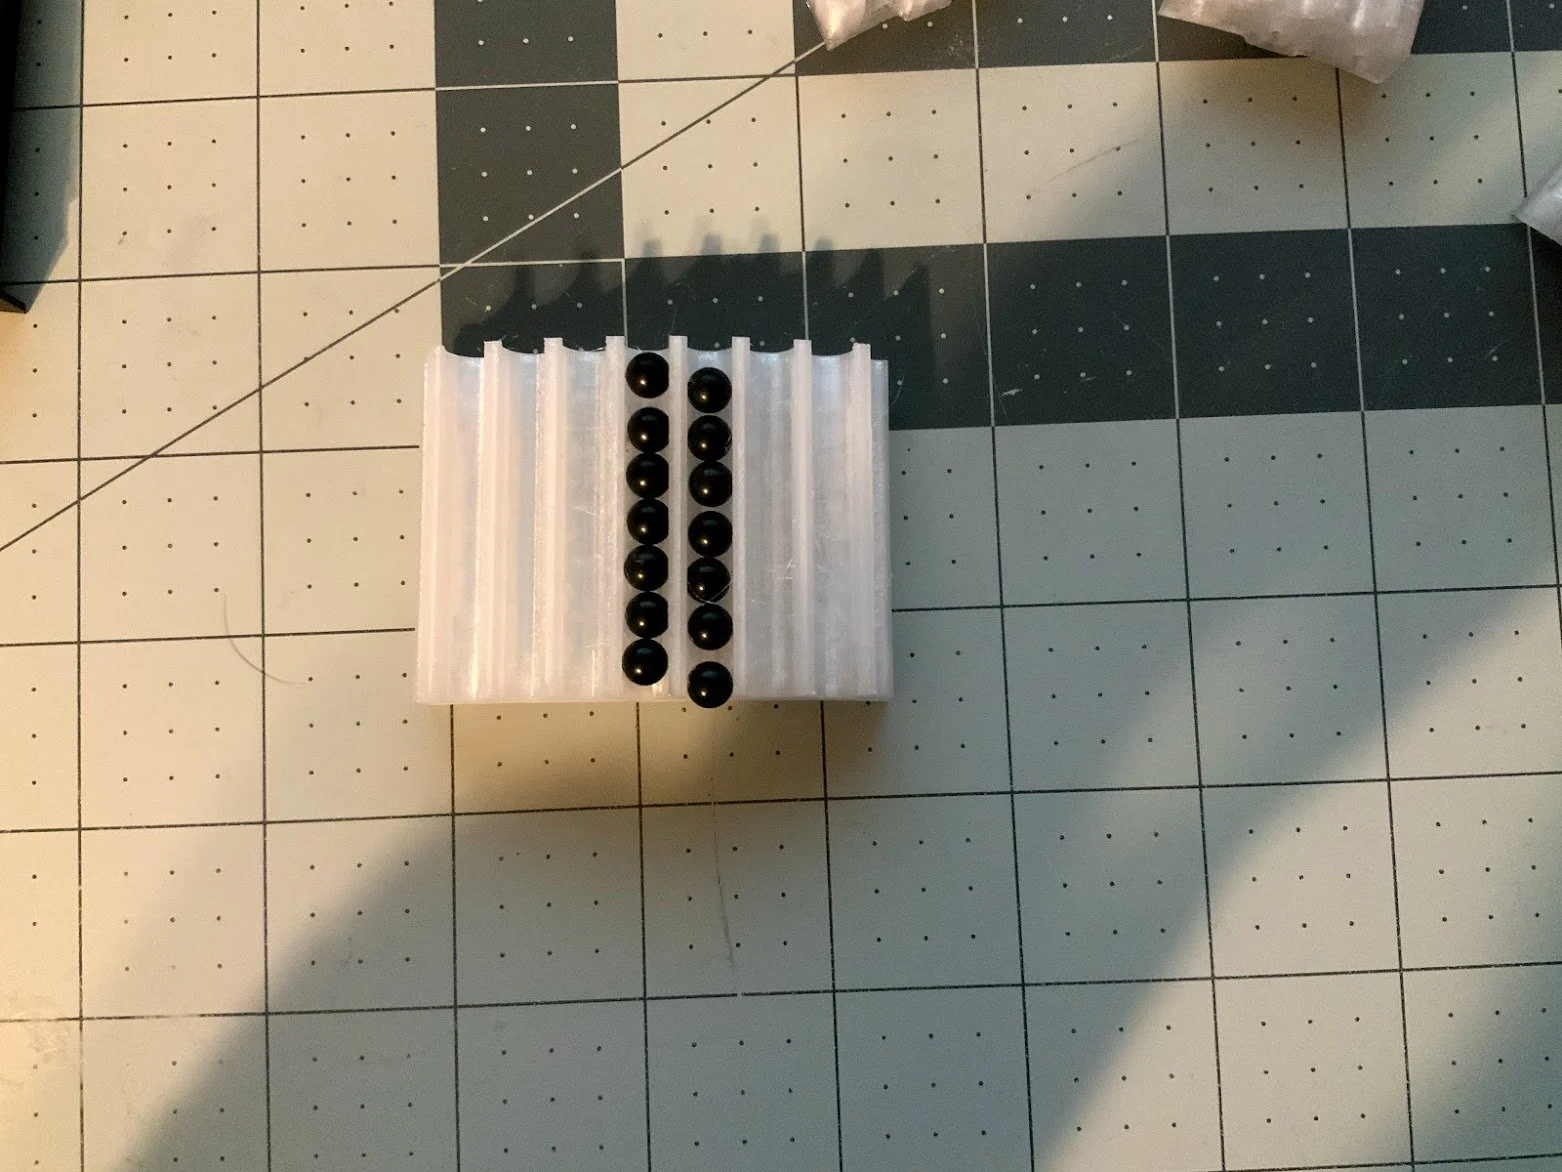
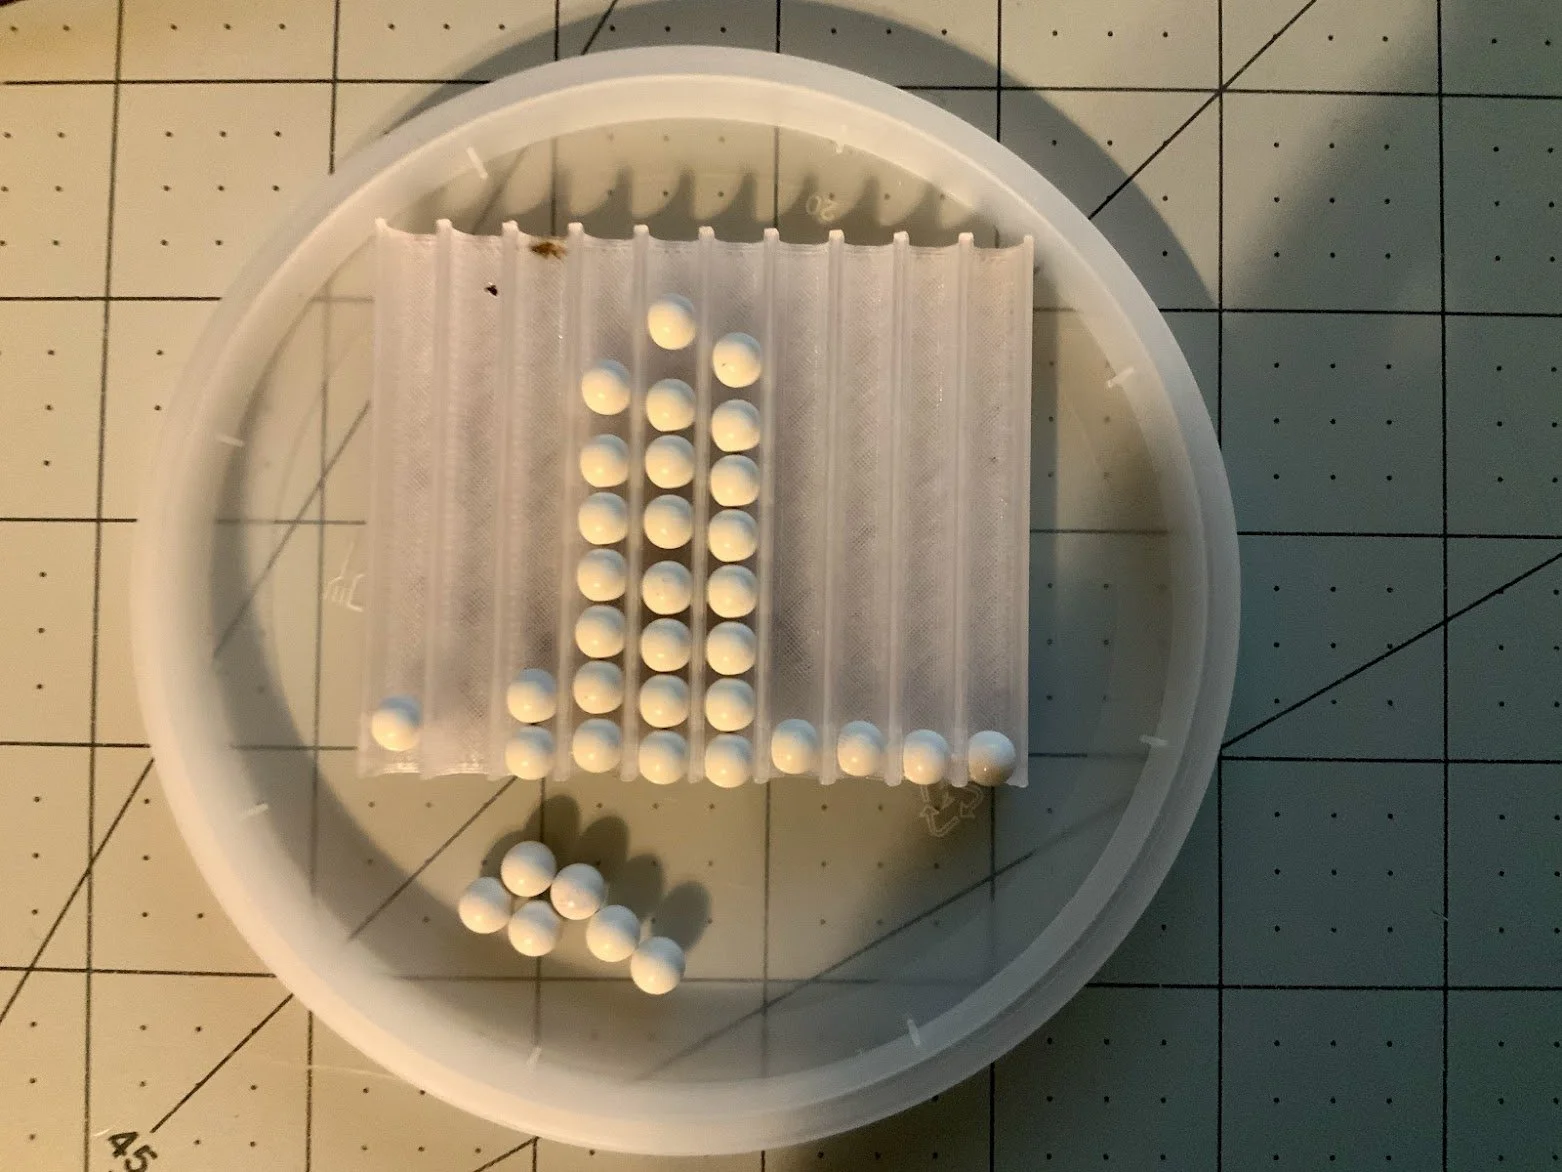
I had wanted the screen to be entirely transparent. Although I had wanted to use a piece of transparent perforated plastic as the screen, I couldn’t find exactly what I needed. Attempting to 3d print them instead, I had difficulty getting the transparent filament prints clear enough. I tried a few things to bring the clarity of the prints up. I changing the profiles of the columns from circular to square meant there was less material between the pellets and the exterior of the display. I also tried multiple print orientations, wall widths, and layer heights. Even when the balls were visible, this changed dramatically depending on the angle you looked at it from. Below are some pictures of the transparent prototypes.

Concept Behind Mechanical Screen

Circular vs Square Profiles


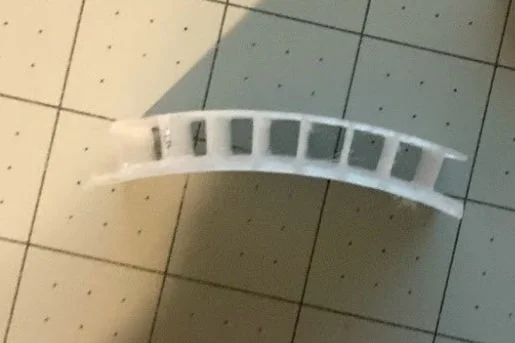
Instead of continually trying to make the prints transparent, I decided to expose the pellets directly. It only took a few iterations to get the new profile (pictured right) tolerances tuned.
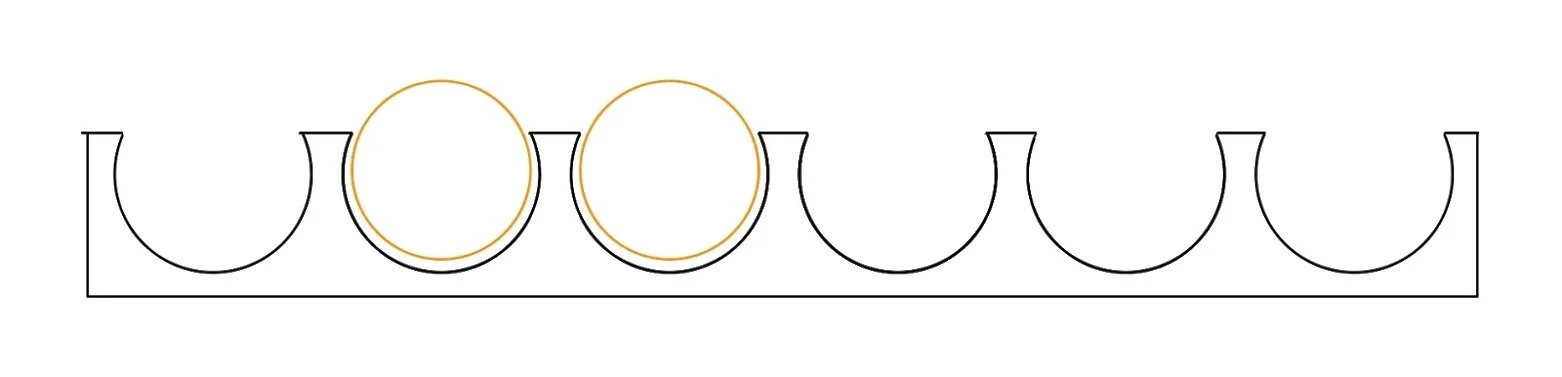
New Profile

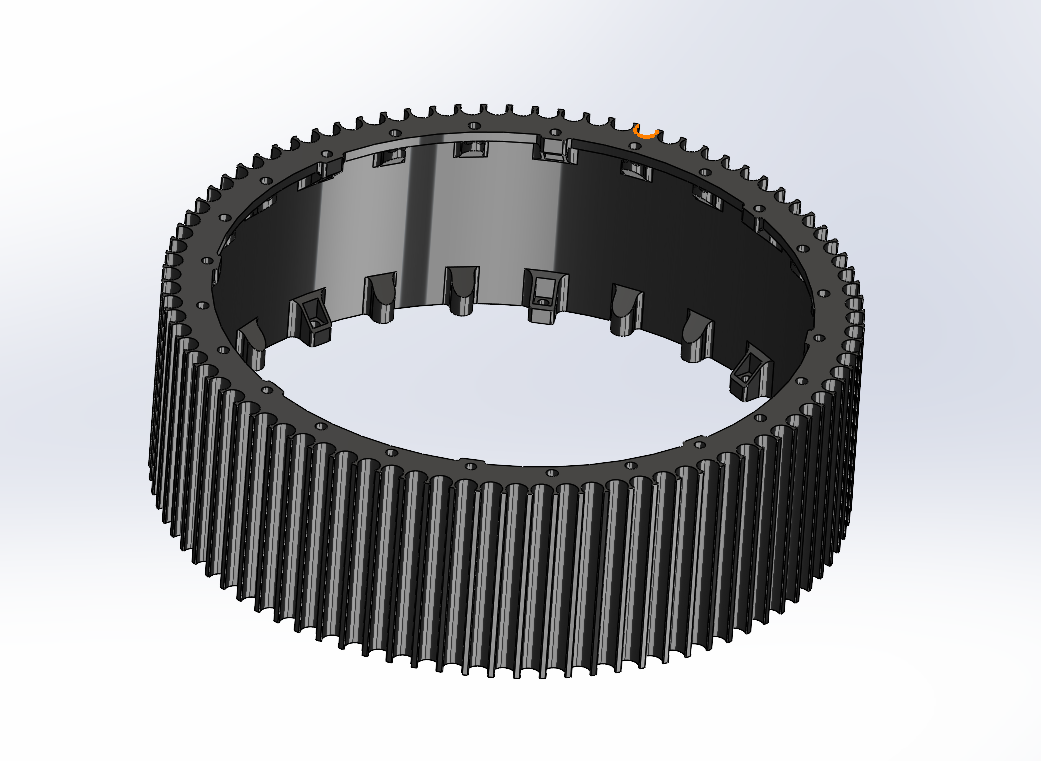
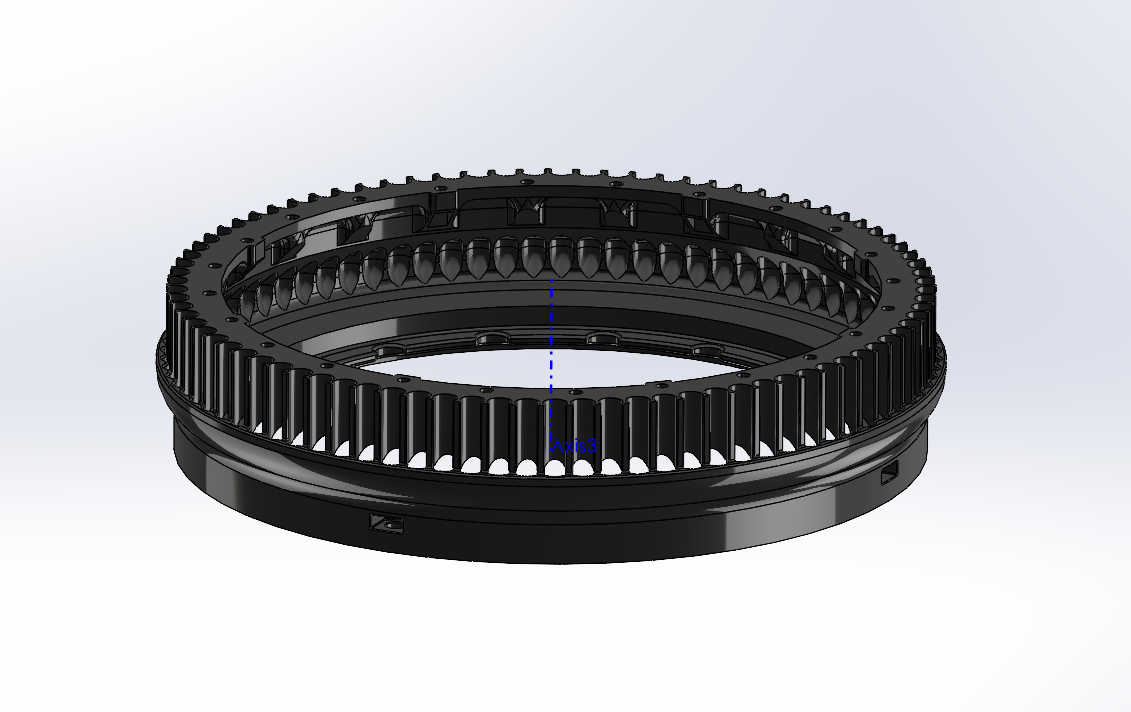
I knew I wanted to take advantage of the fact the screen did not have to be entirely coplanar. So I decided to curve the display so that it fully wrapped back onto itself.
First Curved Wall Profile
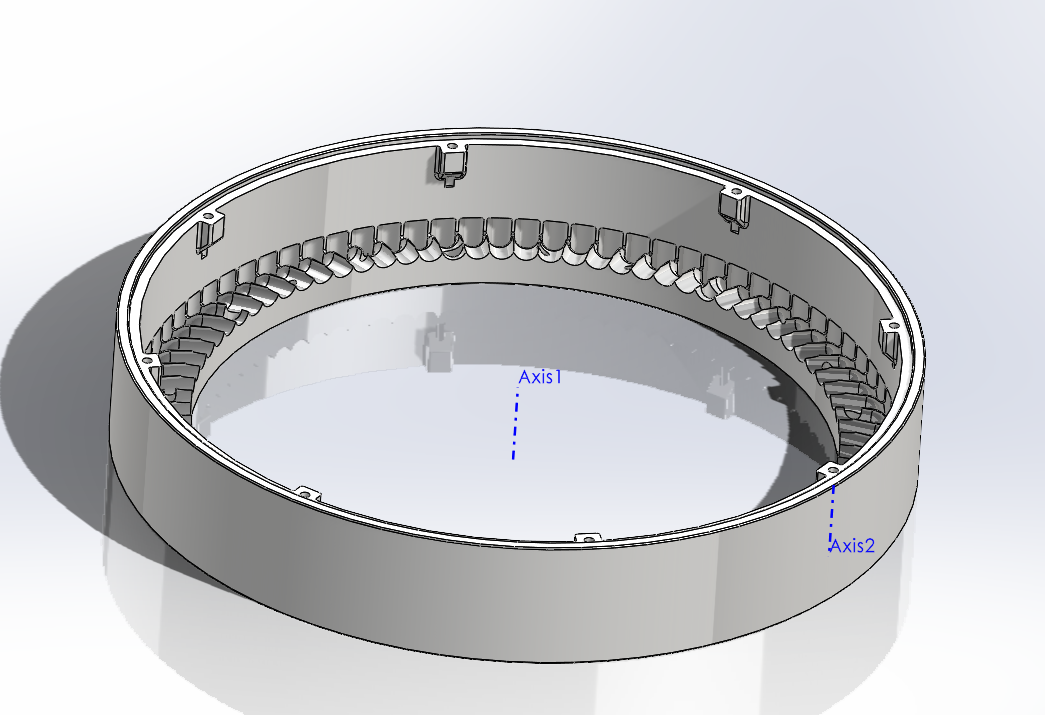


I finished tuning the geometries and getting the tube screen printed. After assembly, I had the full exterior done. This also revealed the form factor the display interior would have to fit into. To see how this screen would be articulated, click here.

View of Final Exterior Assembly